JUST ONE MORE ASYM Wiki Power & Speed Walkthrough
Learn what the Power & Speed update changed and how to play the new threat package.
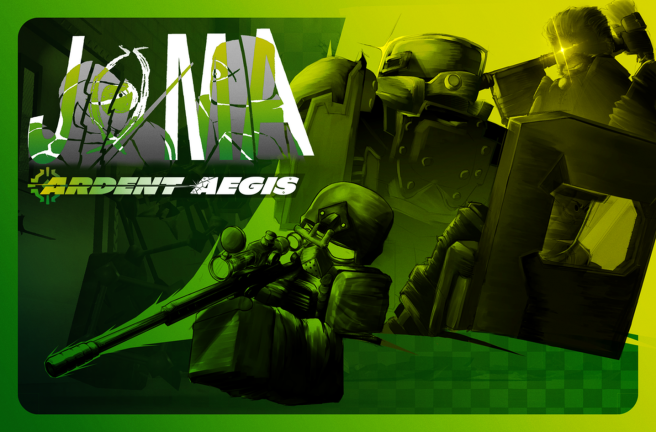
Power & Speed is the update label players associate with JUST ONE MORE ASYM’s biggest recent content spike: new boss-facing set pieces, Death Watch related showcases, and a faster combat tempo that punishes slow decision-making. This page translates community showcase footage into practical habits you can use in live Standard 4v16 matches and when special rounds fire.
JOMA remains an unstable Roblox alpha. Numbers, AI quirks, and boss telegraphs can shift between builds without a new marketing title. Treat this guide as a playbook for the kind of pressure Power & Speed introduced — then verify live behavior after every patch on the Updates hub.
What players noticed after Power & Speed
- Boss-oriented encounters (community showcases highlight Xolbor / XLOBOR style fights).
- Death Watch / Deathwatch adjacent content appearing in long showcase videos.
- Higher emphasis on movement reads, spacing, and burst windows.
- Faster punish windows on empty stamina and greedy overextensions.
- Ongoing unstable-alpha balance — expect kit retunes alongside boss tuning.
The embedded showcase above is a good reference for silhouettes and ability tells. Do not treat every damage value in a clip as gospel; learn when the boss commits, not only how much it hurts.
Standard 4v16 context
Power & Speed did not replace the core loop. You still play 4v16 — one AI Aberrant plus three player Adversaries versus sixteen Survivors — until time expires or the hunt succeeds. What changed is how punishing mid-round mistakes feel when boss pressure stacks on top of Seeker chases or Guilt slugfests.
If you are new to the format, read Getting Started and Gamemodes first. Boss showcases are advanced material; fundamentals still decide most rounds.
How to approach new boss pressure
Survivors
- Assign one caller — chaos is worse than a slightly wrong call.
- Keep a tank between the boss-facing threat and your healer — peel lanes matter more than personal KDA.
- Burst only when defensive cooldowns are ready to cover the counter-swing.
- Leave greed angles — bosses punish overextensions harder than lone Adversaries do.
- Pre-plan Berserk — if player hunters die first, the Aberrant can enter Berserk and erase a “we won” feeling. Read How to Beat Aberrants before you celebrate early.
Strong starter picks for learning bossy rounds: Knight, Shielder, Doctor. Shielder (~450 P) teaches peel timing that transfers directly to boss holds; see the Shielder guide. Hemomancer (~1500 P) is a late unlock for players who already stabilize frontlines — not a first buy for Power & Speed learning.
Adversaries
- Do not steal the Aberrant’s lane — amplify it. Seeker and Guilt want space; give them cut-off angles.
- Cut the Survivor backline while the big threat occupies tanks.
- Save traps and slows for the moment Survivors commit their sprint toward an objective.
- Hold chokes on map knowledge from the Maps hub instead of open-field duels when area denial matters.
Chaser and Sin mirror Aberrant themes; pairing player rushdown with AI pressure is exactly what Power & Speed fights reward. See Adversaries for kit roles.
Death Watch notes
Community videos often show Death Watch content alongside Power & Speed. Treat it as high-priority learning:
- Learn tell animations before memorizing damage numbers.
- Decide in advance whether your team collapses on summons or on the main body.
- If the fight spills into a Death Sentence cadence (~every fifteen Standard rounds), swap to special-round rules immediately.
Death Sentence rounds spike movement and attributes for everyone. Power & Speed habits — spacing, stamina discipline, caller clarity — matter more, not less, when Archfactor pressure appears.
Map-specific habits
Boss pressure rarely happens in a vacuum. On District and Double Runes, use tight corners to break line-of-sight between boss commits. On Cloud Nine, respect vertical drops — tanks who hold doorways without watching ledges feed free picks. On Green Garden, mid-map regroup points become life-or-death when showcases add summon clutter.
Route planning beats raw reaction. Pair map reads with Stamina Management so you arrive at chokes with bars left.
Assisted Rebellion overlap
Assisted Rebellion pushed Survivors toward organized counterplay instead of pure flee loops. Power & Speed then layered boss threat on top of that cooperative baseline. If your squad still scatters on first contact, fix Assisted Rebellion fundamentals — peels, regroup pings, healer positioning — before blaming the boss kit.
Supports like Doctor and Hemomancer win Power & Speed rounds by enabling tanks, not by out-DPSing the threat.
Practice loop
- Watch one focused showcase (embedded above).
- Play two matches focusing only on spacing — ignore cosmetics and score flexing.
- Play one match where you never sprint without a plan (see Stamina Management).
- Review deaths: stamina, vision, or role gap?
- Adjust unlock order with the Tier List.
Related guides
Frequently Asked Questions
Quick answers to the most common questions about JOMA.
What is the Power & Speed update in JOMA?
It is a major content label for JUST ONE MORE ASYM associated with new boss-facing showcases, Death Watch related material, and a snappier combat pace.
Who is Xolbor in JOMA videos?
Community showcases for Power & Speed highlight a boss-style encounter often labeled Xolbor/XLOBOR. Treat clips as learning material and verify live behavior in-game because the alpha changes frequently.
Should I unlock expensive characters before learning Power & Speed fights?
No. Learn spacing with free or mid-cost kits first, then invest in high-ceiling picks like Hemomancer once fundamentals are stable.
Where do I track patch changes after Power & Speed?
Use the Updates hub on this wiki and the official Discord. Numbers and AI behavior can shift without a marketing title change.